A few weeks I flew out to Broken Hill, driving back through White Cliffs and Cobar. It was clear to see the effect the drought is having on both the land and the people. It’s an extremely unforgiving environment, and I’ve tried to impart that in this series of photos I’ve titled ‘Broken’. It’s also uncompromisingly Australian, and again, I hope that cultural quirkiness shines through.

The lunar landscape that is White Cliffs, NSW.
This also marks a new direction in my landscape photography, one more aligned with why I was drawn to the medium in the first place. It places emphasis on composition and minimalism, influenced by photographers like Christian Fletcher and artists such as Jeffrey Smart. It’s a far more observational sort of photography, turning the trip into a sort of photographic treasure hunt. There’s no more getting up at the crack of dawn or using a tripod. In fact, these kinds of photos work best in the glaring right on the midday sun. It’s almost the complete opposite of traditional landscape photography.

Old tanks at the Junction Mine in Broken Hill. The texture the SD-H picked up is incredible.
And I loved it. Every. Moment.
This is the first trip I’ve taken with the Sigma SD-H after my DP1 gave up the ghost. I took the Sigma 50mm f1.4 ART and also the Sigma 24mm f1.4 ART, though I only used the 24mm for a few shots. Both lenses are excellent, as is to be expected, but I did find the 50mm length (which is slightly tele on the cropped SD-H sensor) was better suited to this work and probably all I need.

I haven’t had this much enjoyment from photography in a long time. It’s definitely a move in the right direction.
The 50 1.4, as great as it is, though, is HEAVY. The biggest benefit of the DP Quattros was their small form factor. They are so light and transportable, but the 50/SD-H combo is much more in line with a DSLR. Coming from a Phase One, even the RB67, however, it felt like a feather!

Few things weather well in the Australian outback. This was a disused fuel tank.
I was really impressed with the SD-H. It improves on the Quattros in many important areas, notably AF, dynamic range, focus peaking, EVF etc. It’s still a niche product that won’t be useful to 90% of photographers, but for this kind of work it’s almost unbeatable at this price point. It’s not ‘medium format in your pocket’ any more, but it does provide medium format-like results at a fraction of the cost—the detail and tones are just that good.

My main focus these days is minimalism. It’s harder than you would imagine to find clean, uncluttered compositions.
Yes, the software still sucks, and yes, it’s slow, but it’s always worthwhile when you open up the files and see all that juicy information on offer. Scrolling around the images at 100% I was amazed how much I’d missed taking the shot in the first place-a treasure hunt within the treasure hunt, so to speak.

The side of a charity clothing bin—Not your usual subject fodder
I did start to get overheating warnings with the SD-H, though it was around 38 degrees Celsius in the sun, nor did it probably help I’d left my camera back in the back of a cooking car for a few hours. I haven’t had the same issue since.
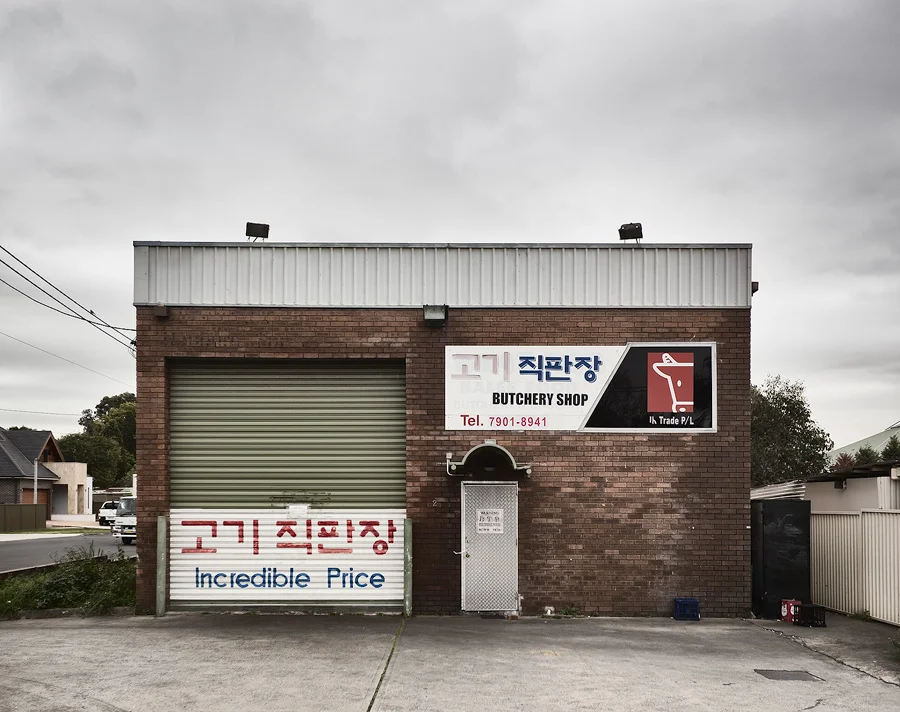
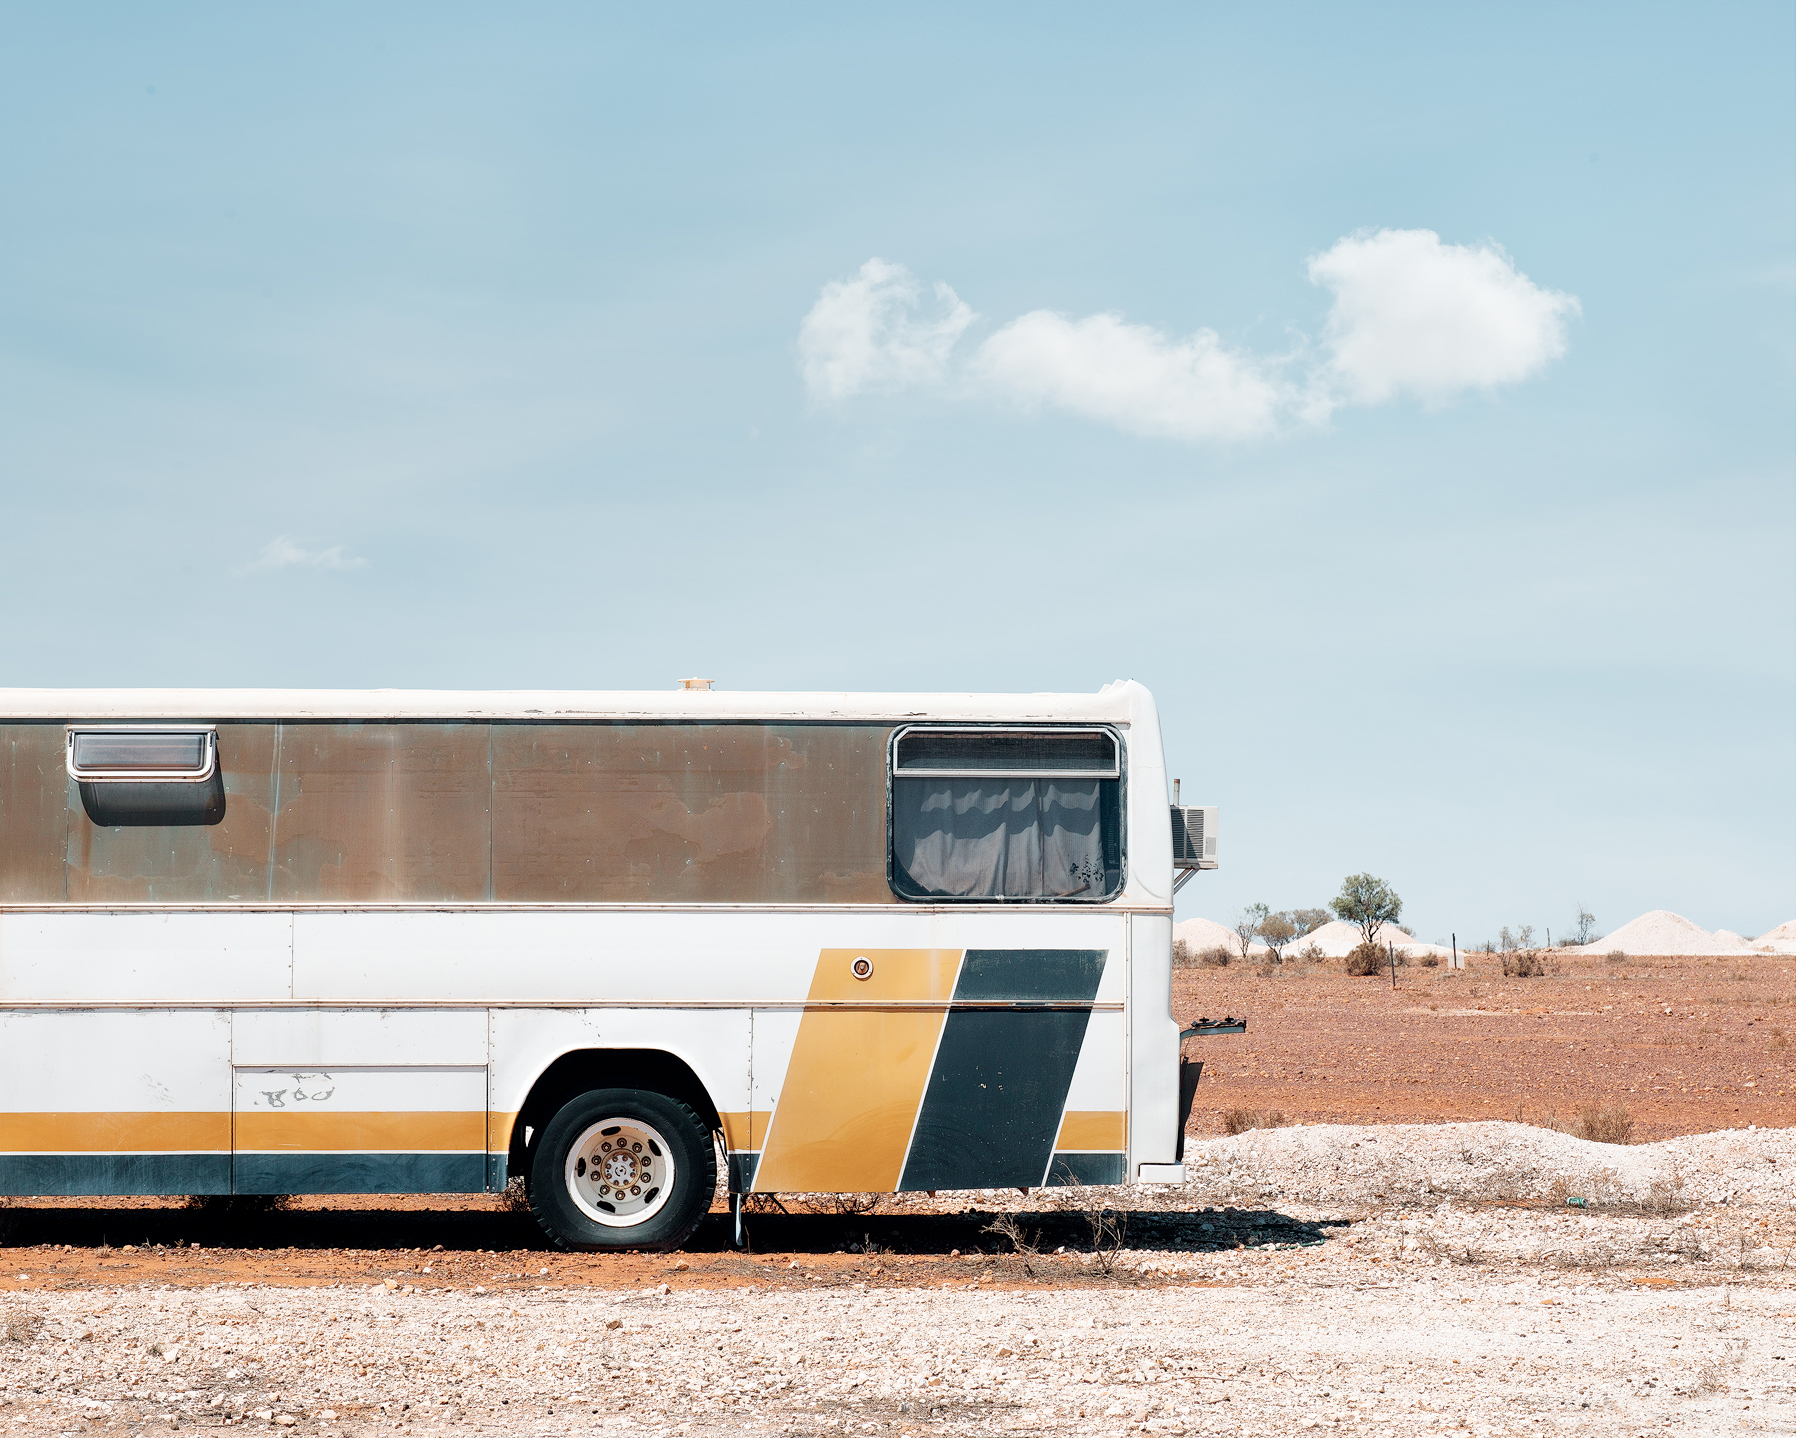
Trip-wise, I’d never been to the outback before, so this was a real eye-opener. The textures and colours on offer were wonderful. Even the most banal and mundane subjects provided unique photographic opportunity, and I’m certainly looking forward to finding more in 2019.
See the full gallery HERE.

There were some impressive murals spotted during our road trip. There’s a lot of artistic talent in the outback.

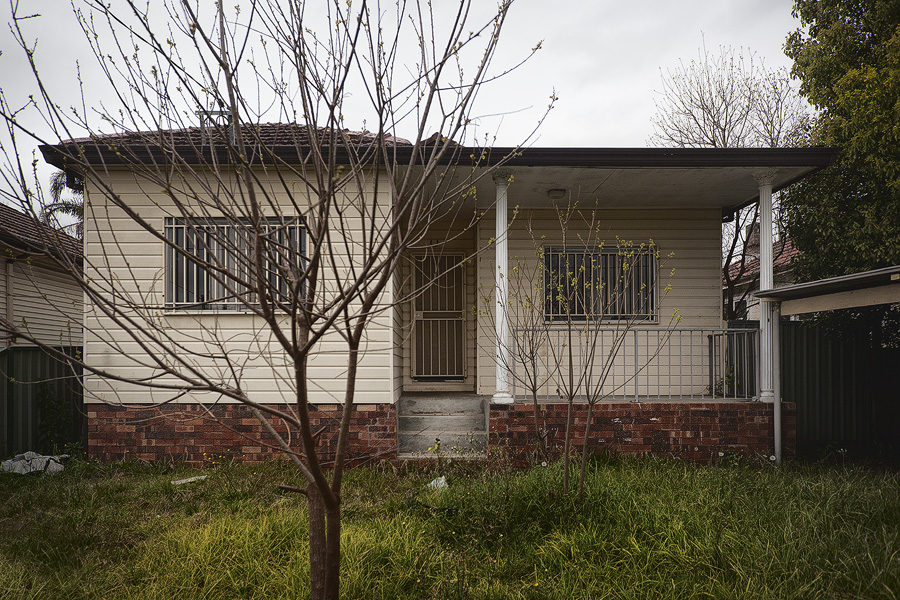
This brickwork has such a distinctly Australian feel to it. It’s a common sight around the country.
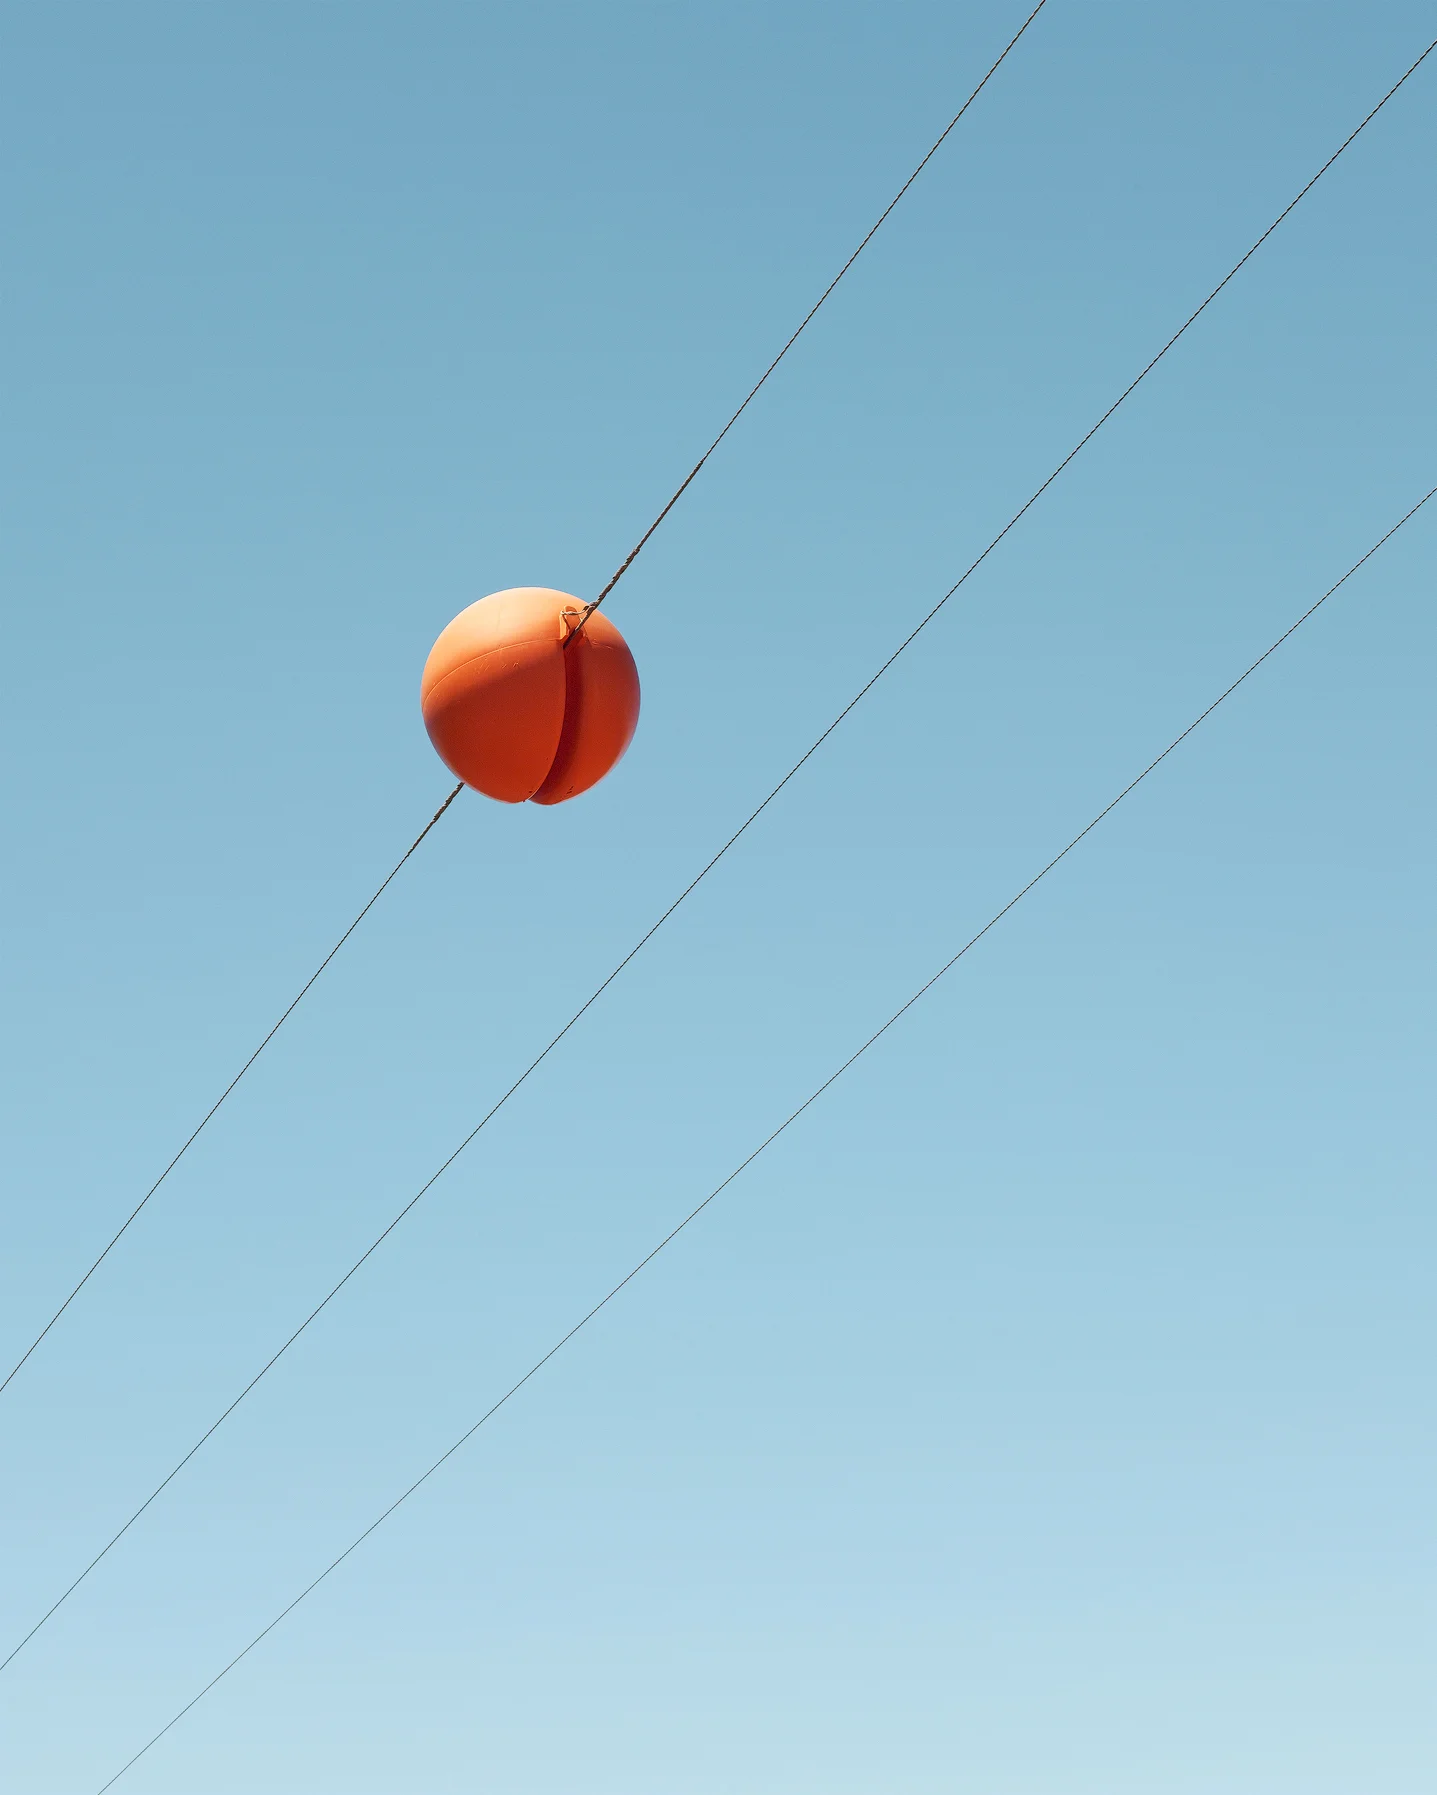
Simple, as they say, is often best.
White Cliffs offers up an alien landscape perfectly suited to this kind of photography.

This solar farm was once at the cutting edge of solar technology.