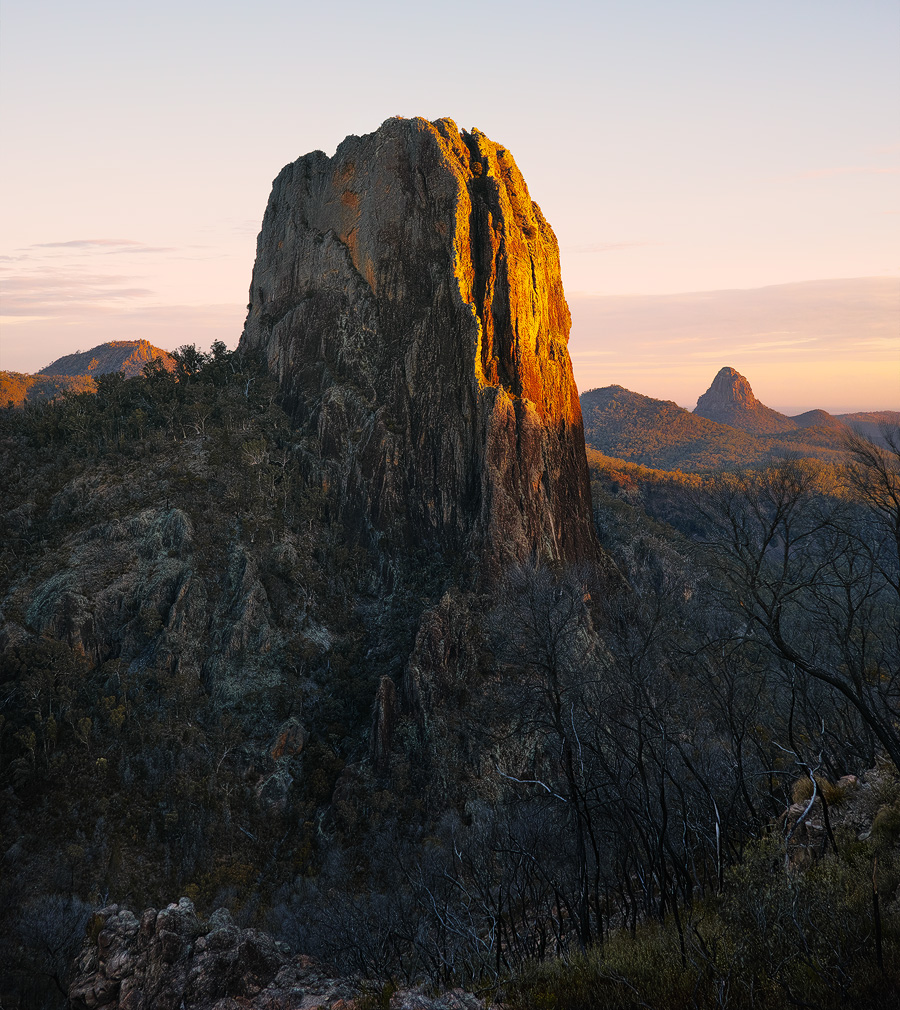
Earlier this year myself and my friend headed the long way down to Jindabyne via Tumut to tackle the Main Range Track. The Main Range is a 21km-odd track within the Kosciusko National Park taking in everything from glacial lakes to dramatic alpine tors. It had been a while since I had travelled, or hiked, since COVID, so expectations were high.

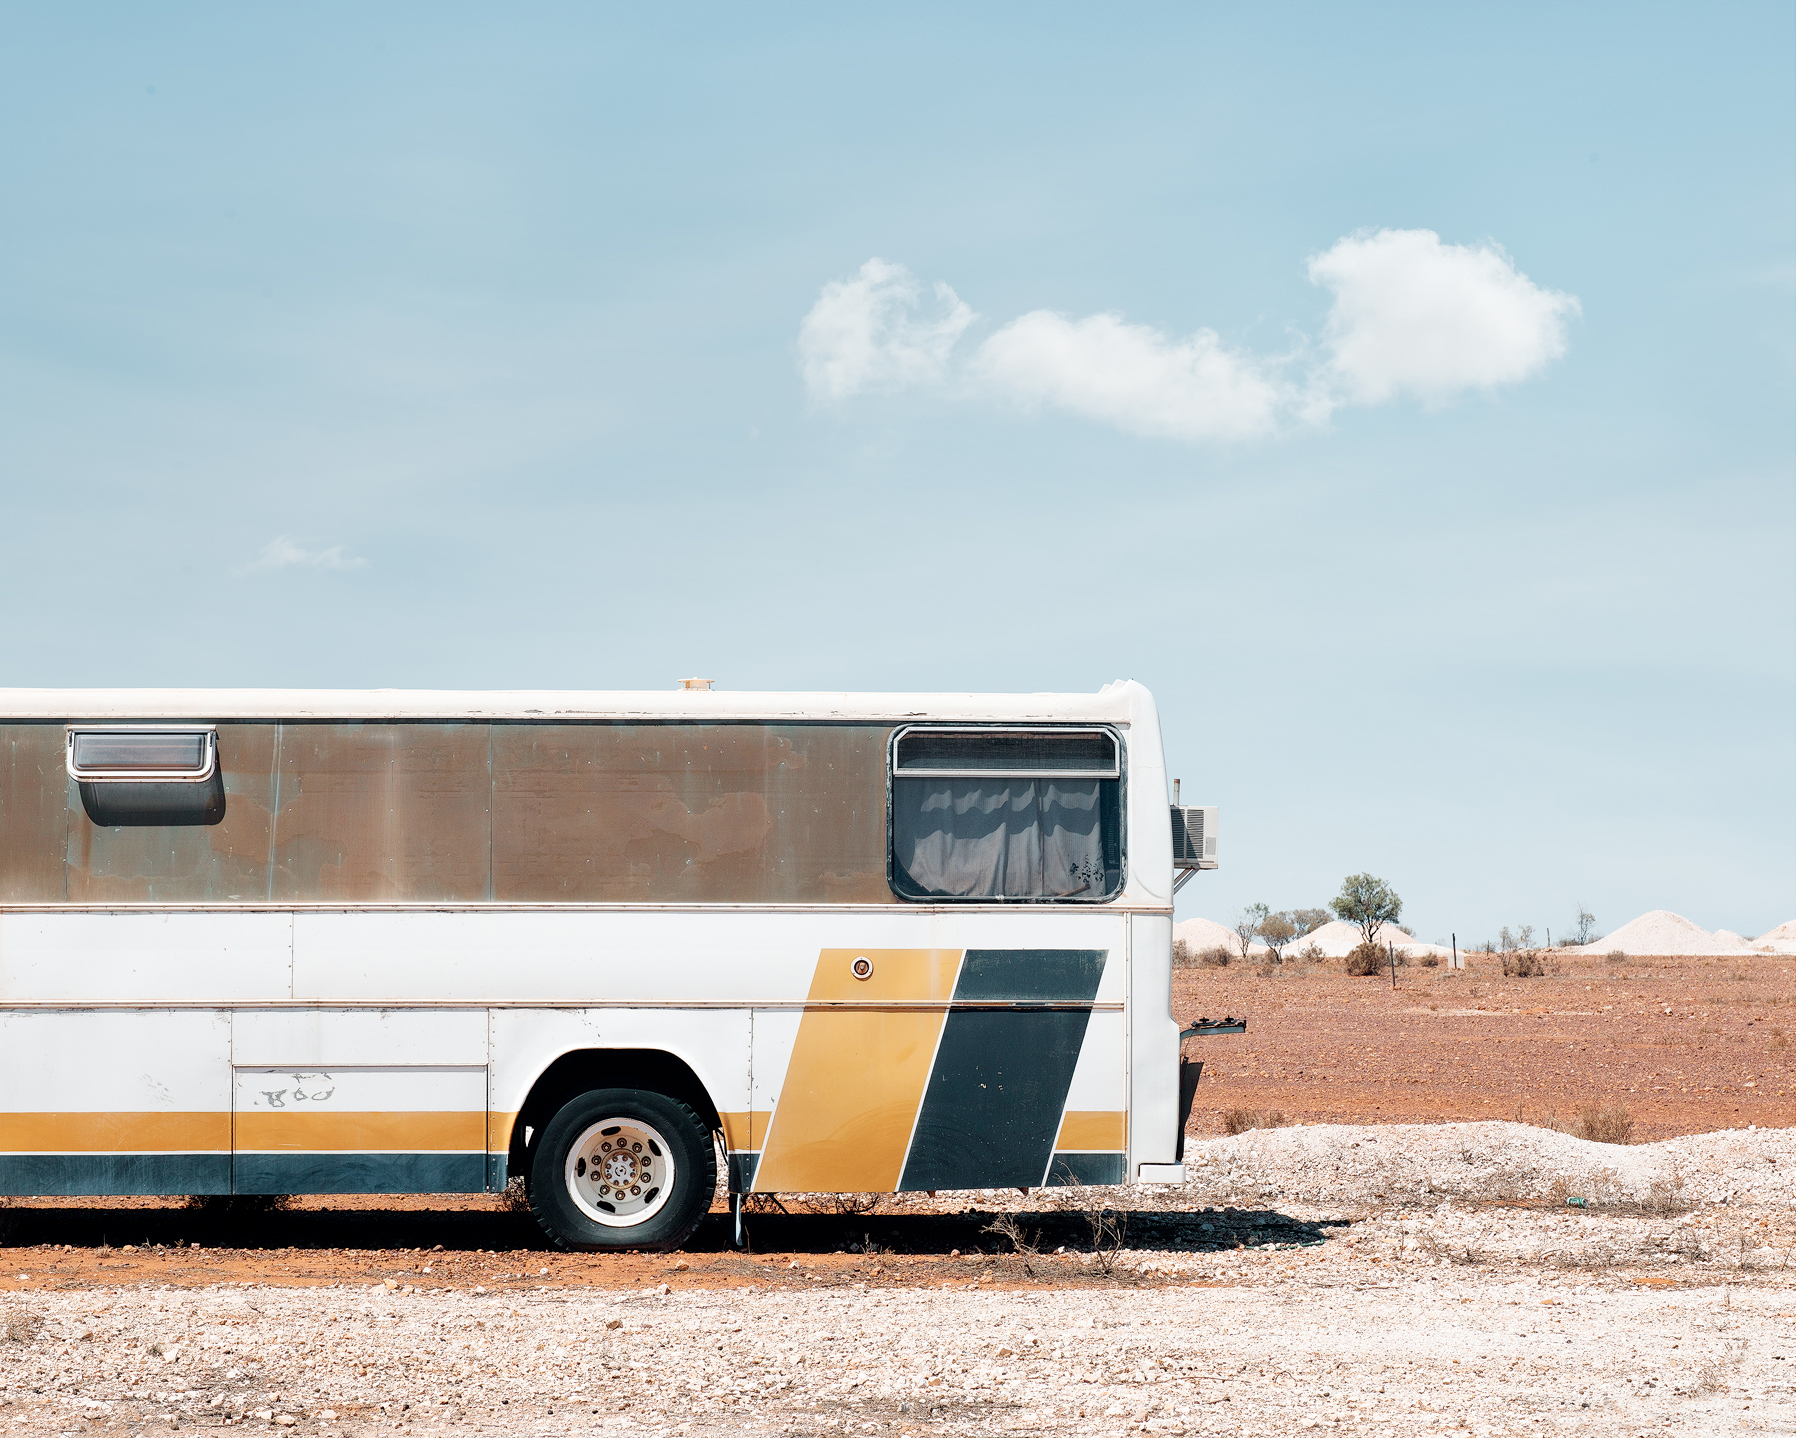
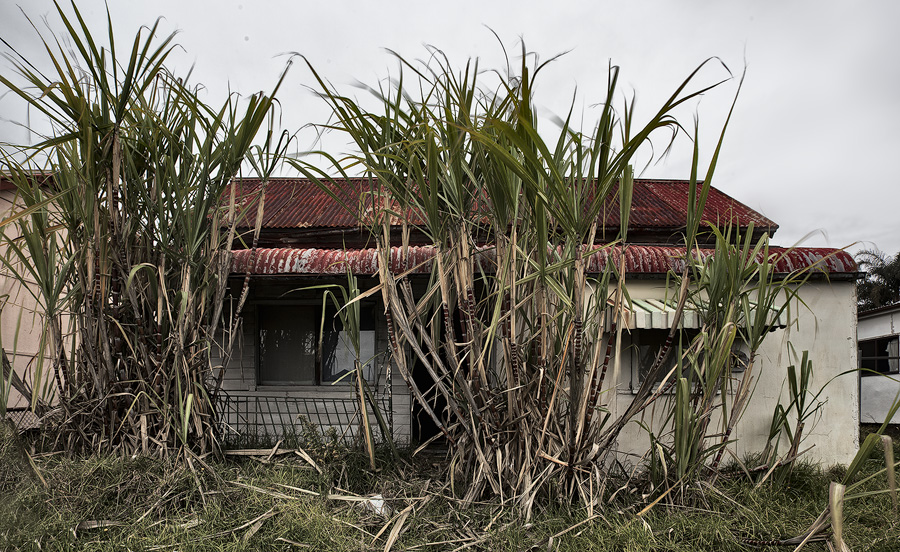
We found this abandoned service station in Marulan, a former highway town. I love places like this which sum up the Australian roadtrip experience.
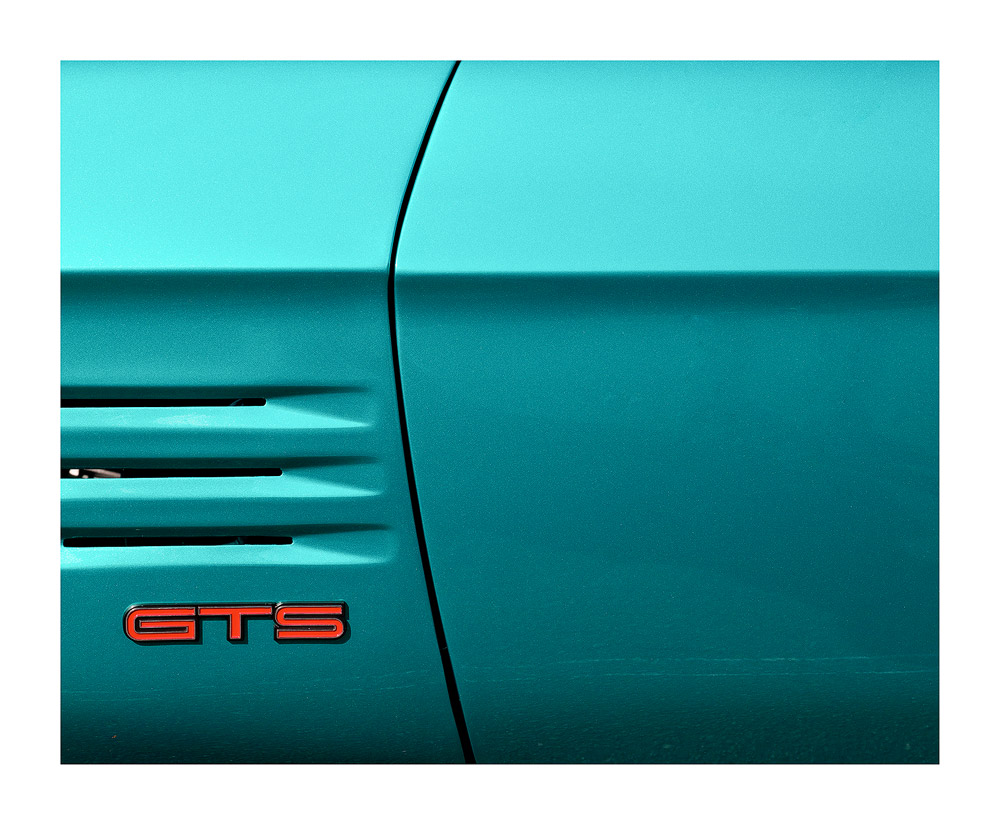
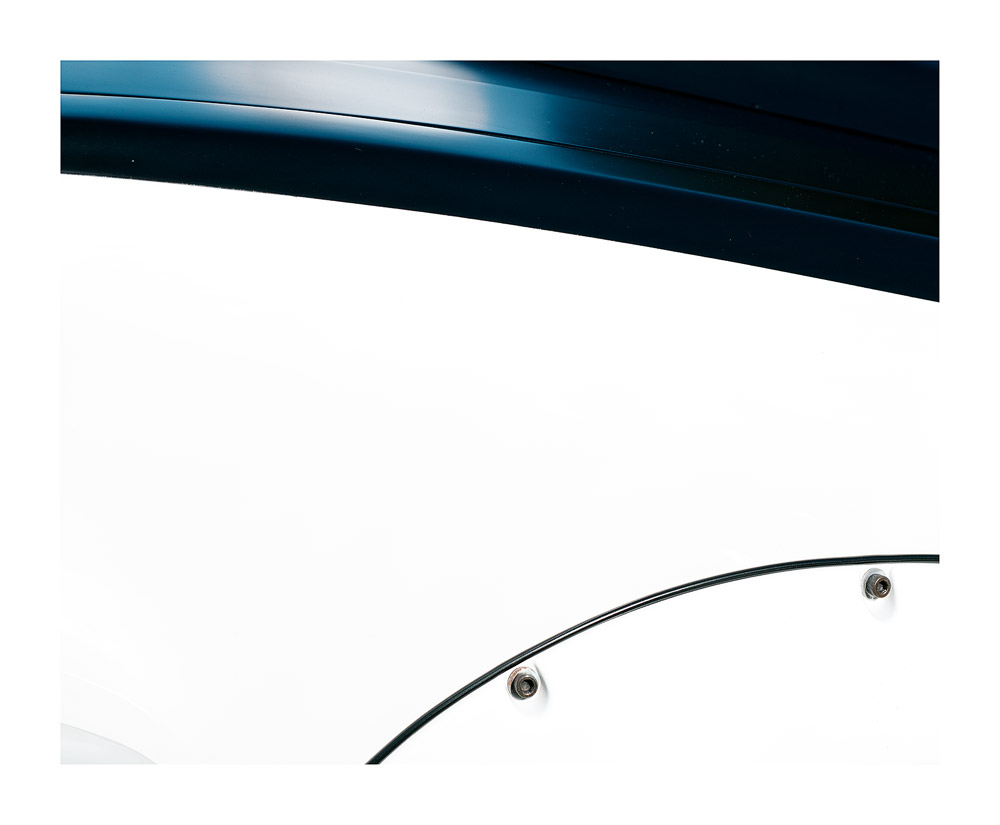
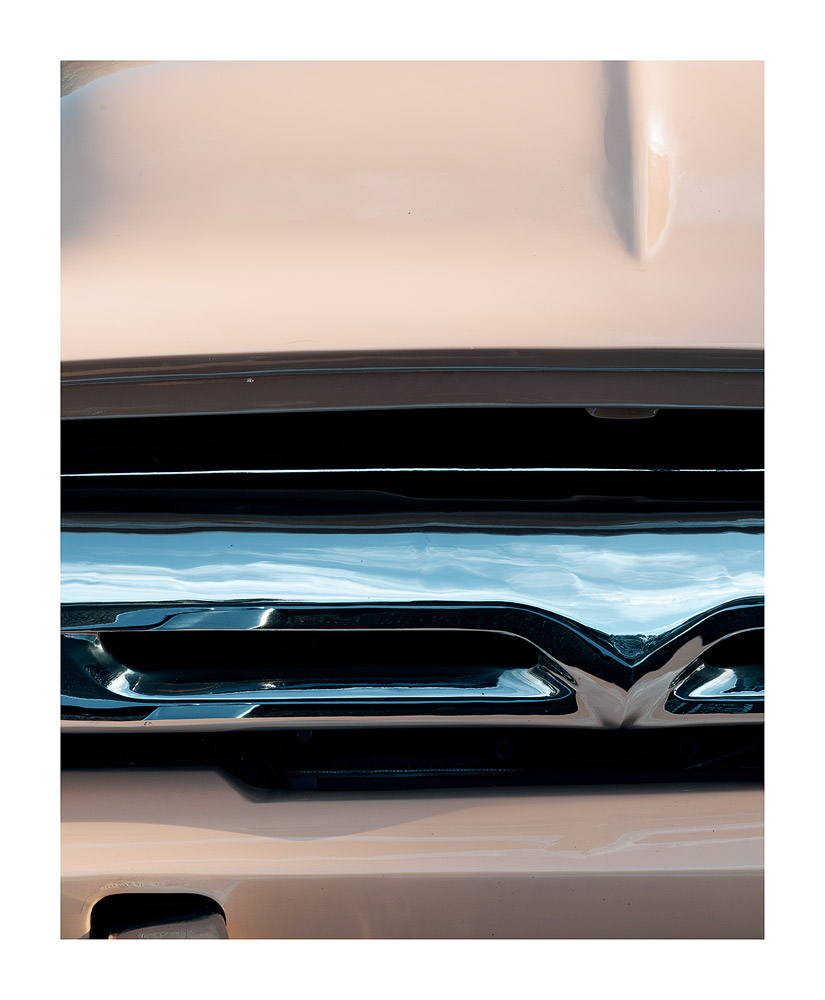
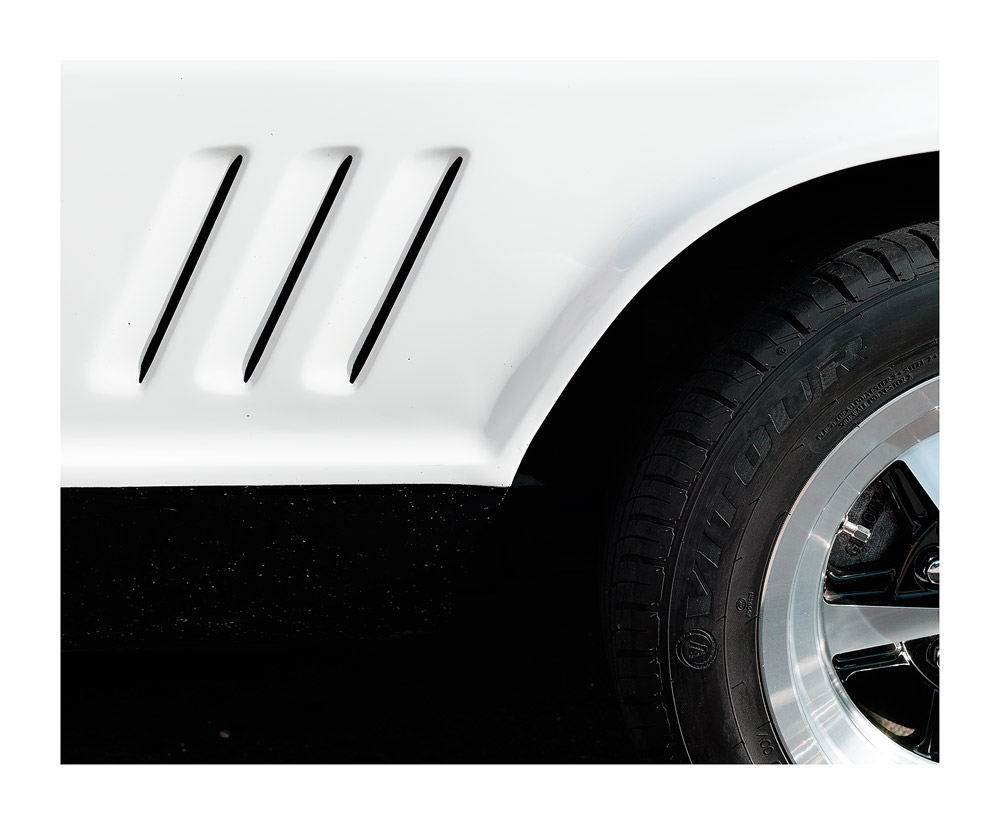
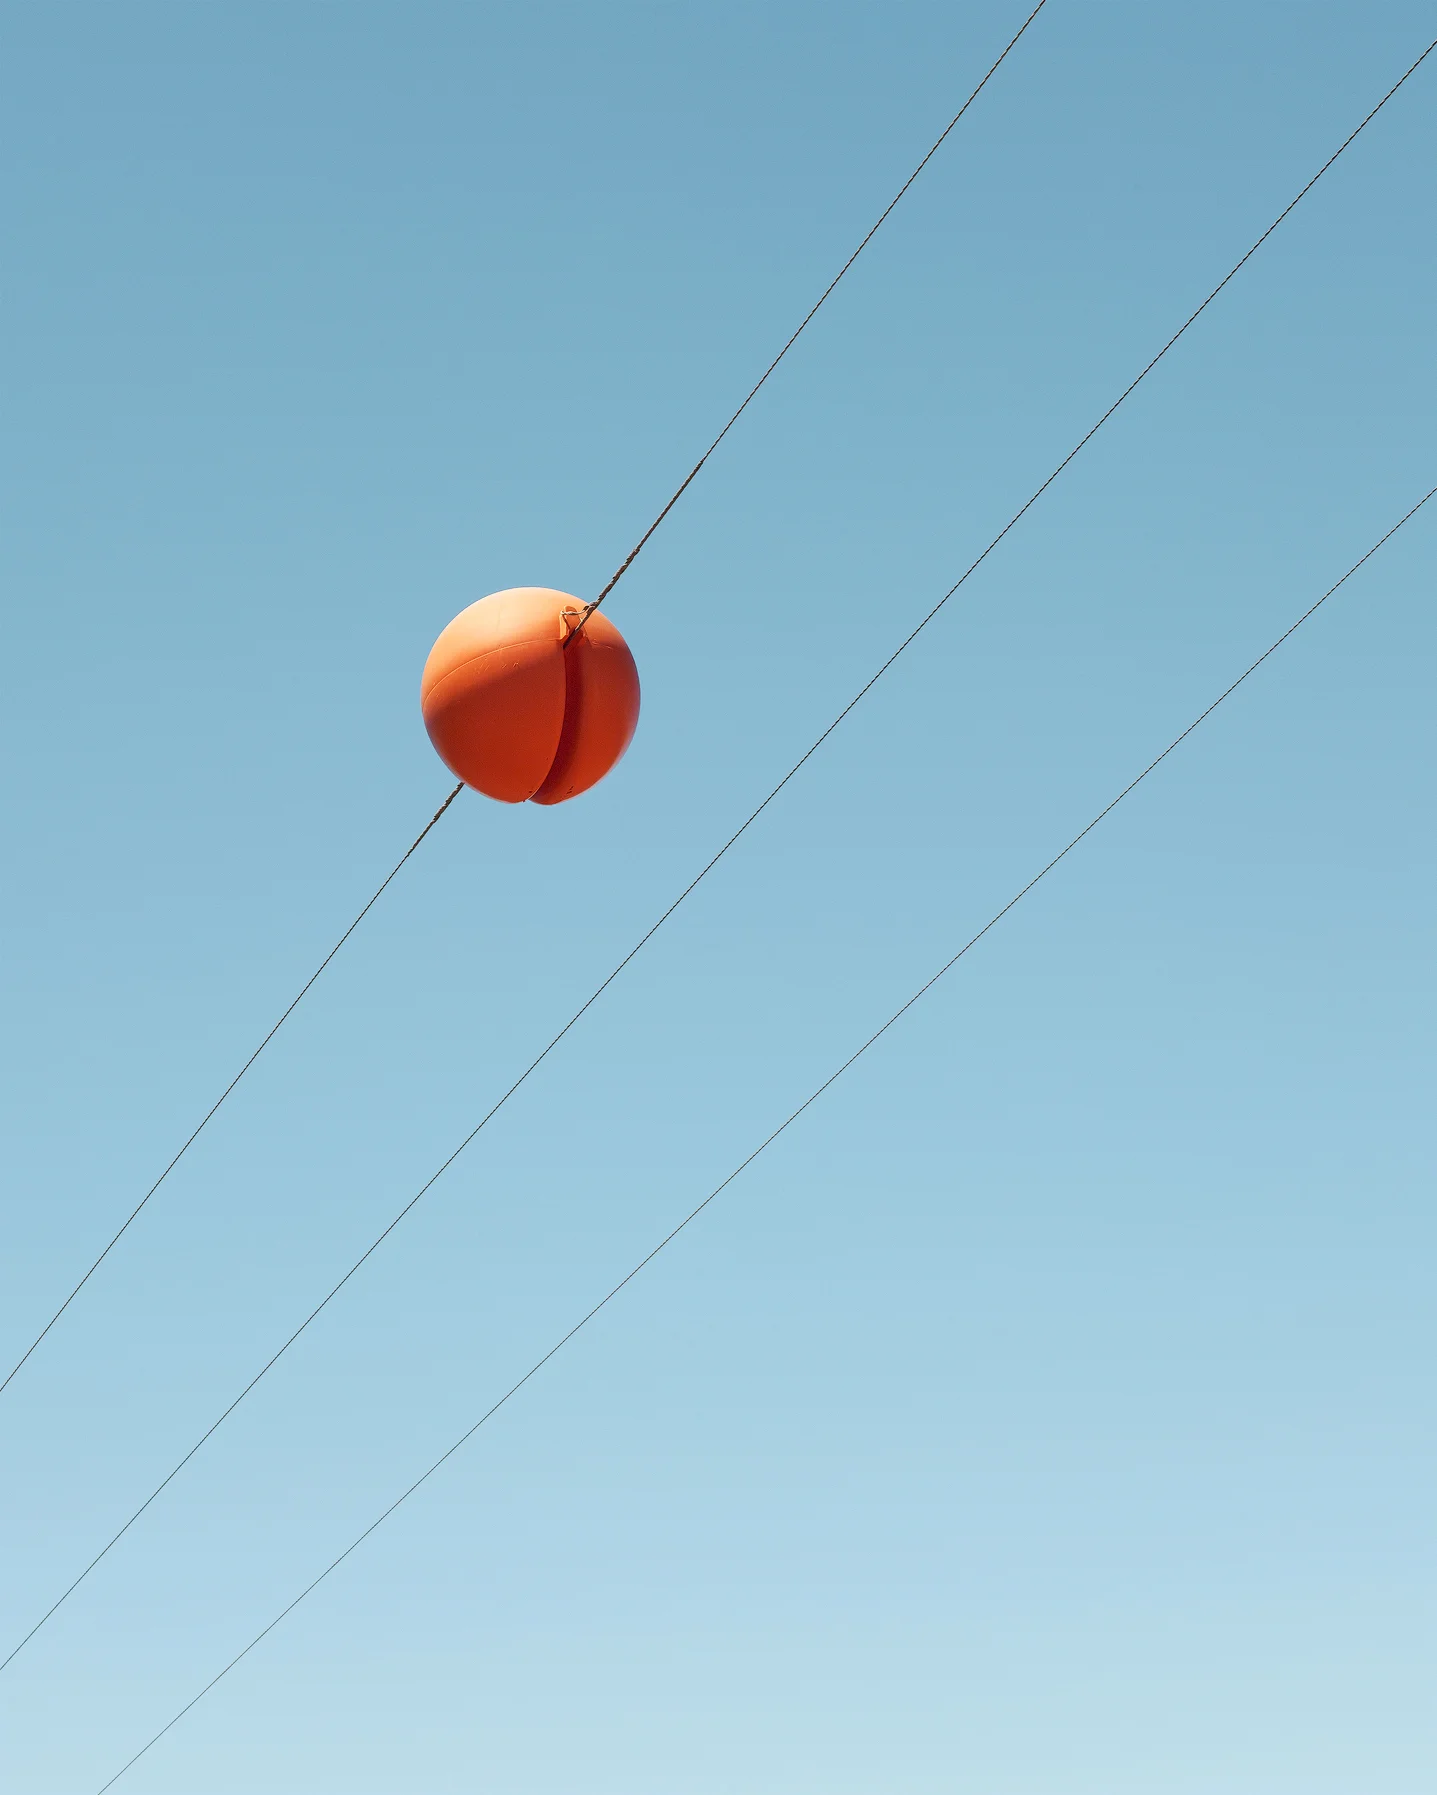
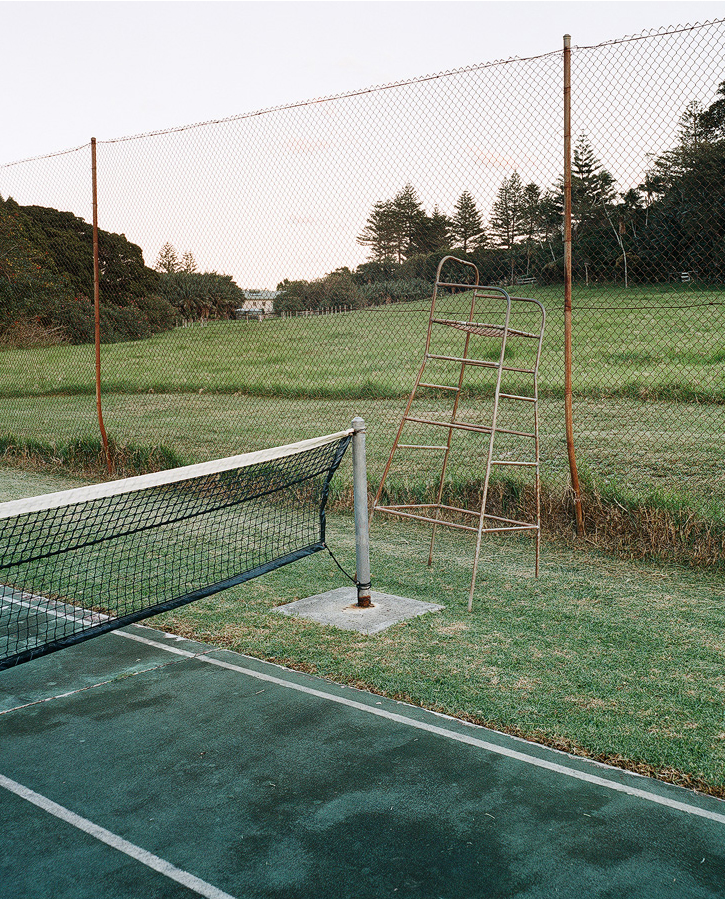
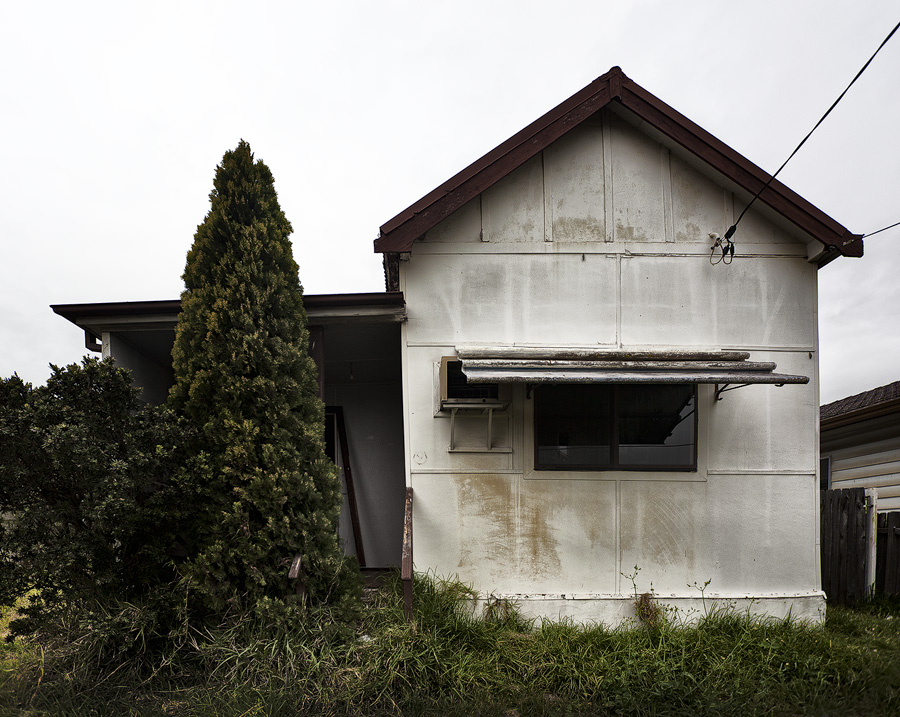
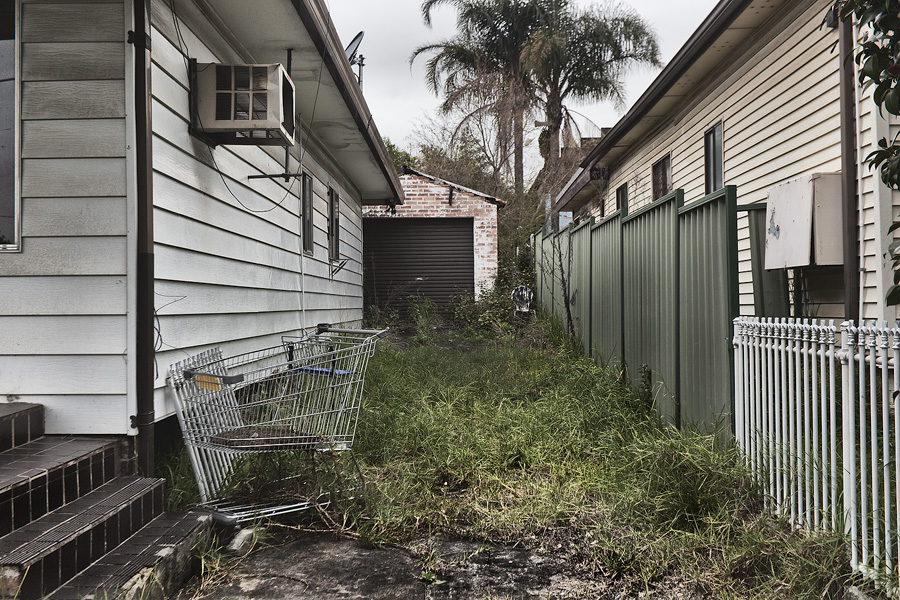
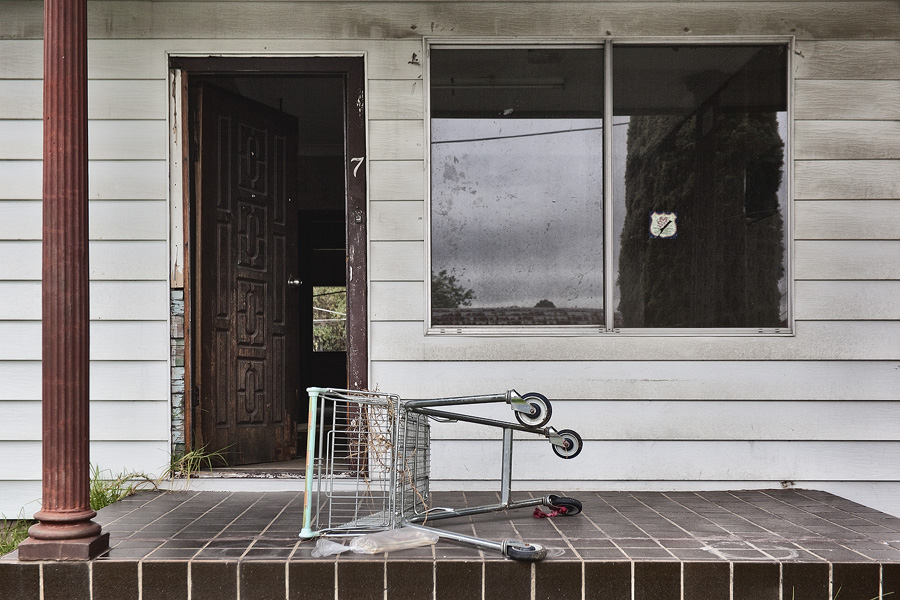
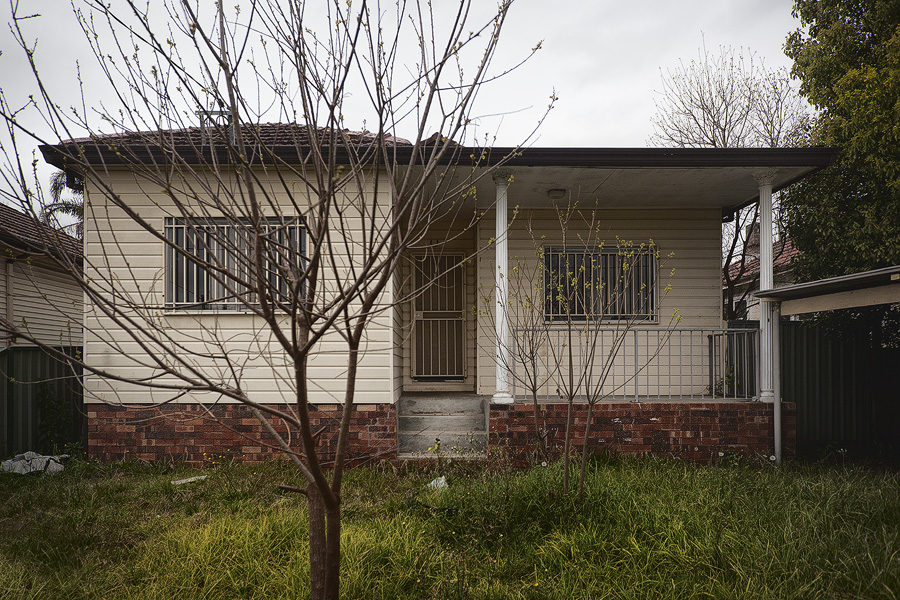
We headed off the main highway through some of the smaller towns the highway has forgot, such as Marulan. As always, I’m a sucker for anything abandoned and old, retro and interesting. I was also quite fond of the mix between old and new in Goulburn. I still enjoy this type of photography, seeking out the mundane. When I’m looking for things to photograph, I don’t consider the subject at all, but instead look at things only in terms of shape, line and colour. I have found it helps if whatever I’m shooting is also in direct sunlight.

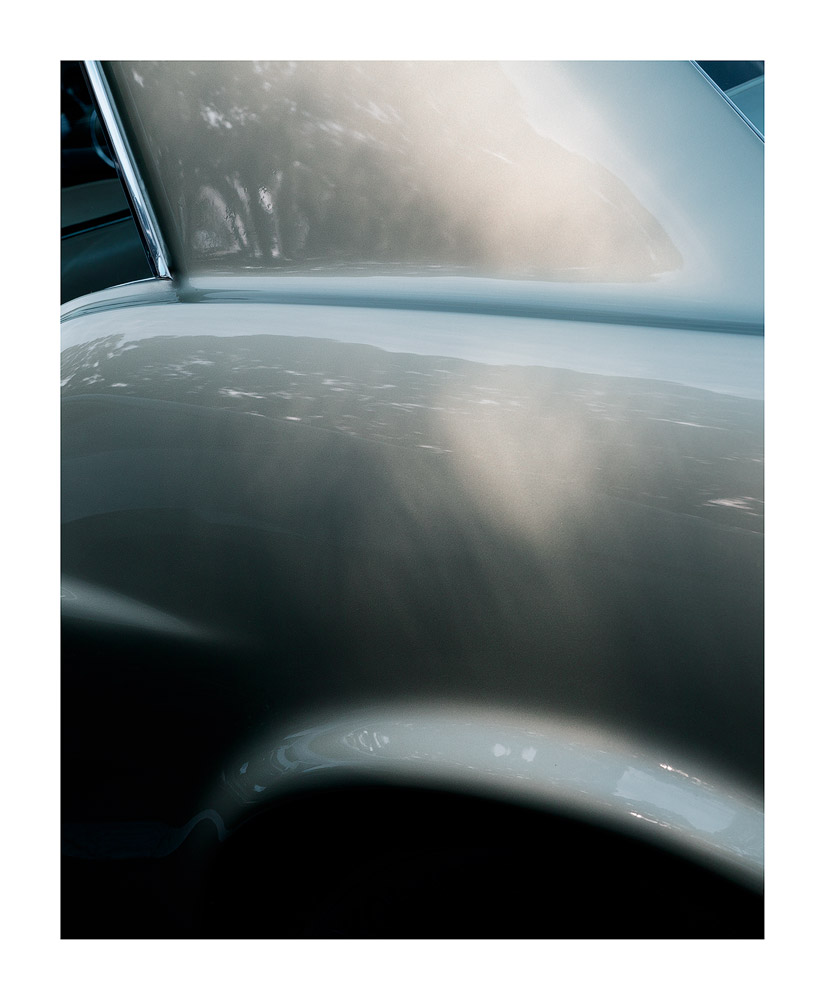
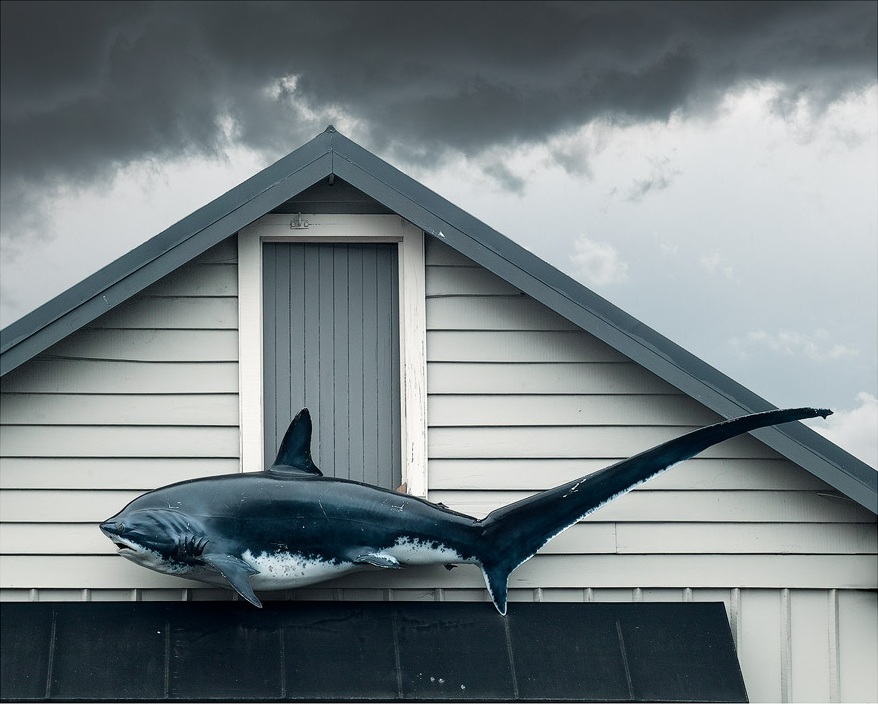
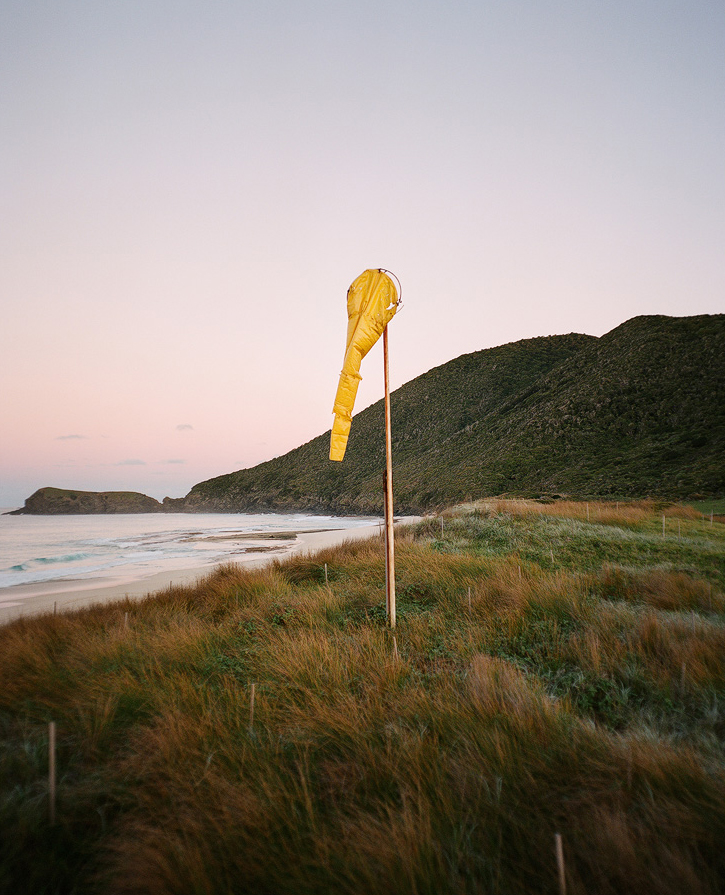
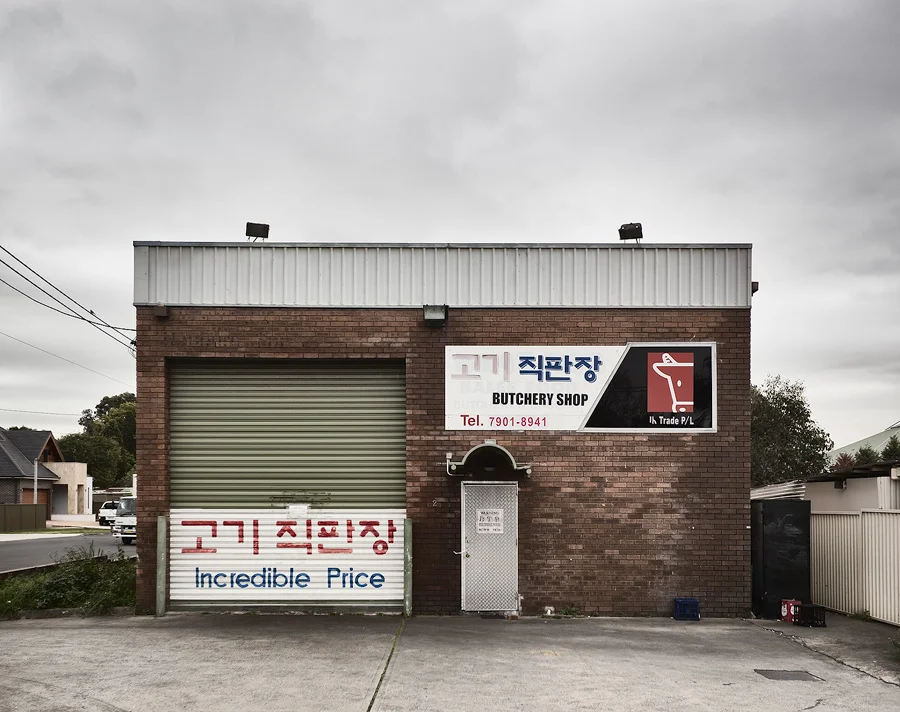
I became obsessed with signage during this trip, trying to lend a bit of space to my compositions far more than I normally would and ‘group’ elements together.

Here is another example. Once I would have taken out the power lines and additional light in the bottom right, but I think they all work together, almost like a compositional jigsaw puzzle.
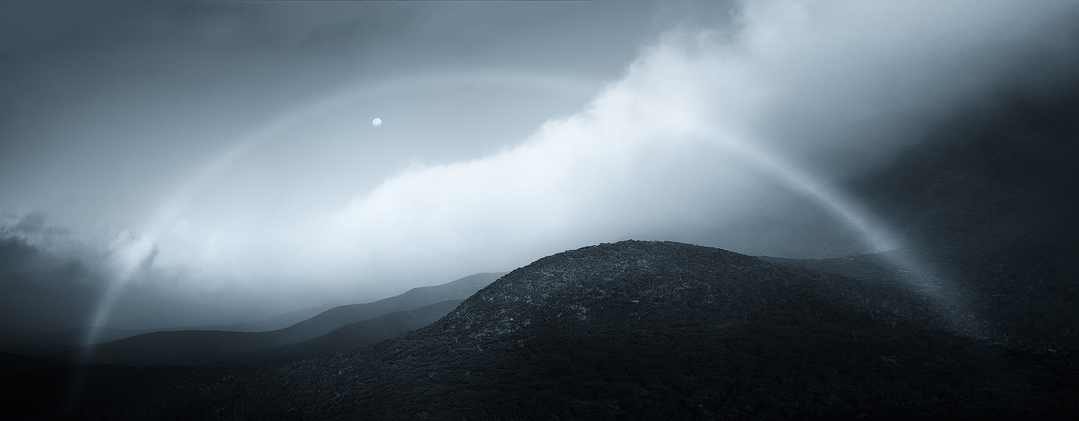
Once we reached Jindabyne, to be met with double rainbow over the lake, the forecast was not good for our hike the following morning—torrential rain and thunderstorms. Alas, we woke and the conditions were near perfect heading up to Charlotte’s Pass.
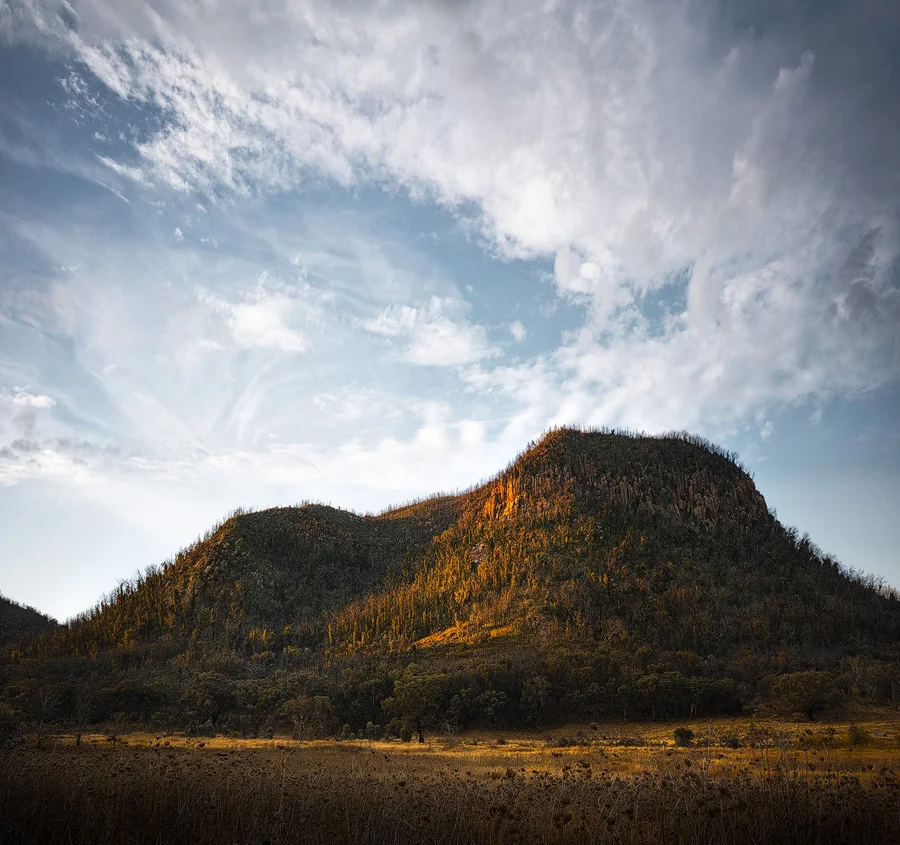
After a close call crossing the river, we headed up to some of the best light I’ve seen in quite a while. My friend and I had been meant to hike New Zealand’s Tongariro Crossing last year, so this hike was to essentially make up for that. I must say, the Main Range Track/Walk was far more scenic than I thought it would be, especially once you got up to Blue Lake and onwards.

The early morning light was fantastic on the Main Range, the cloud sweeping in and out of the landscape.
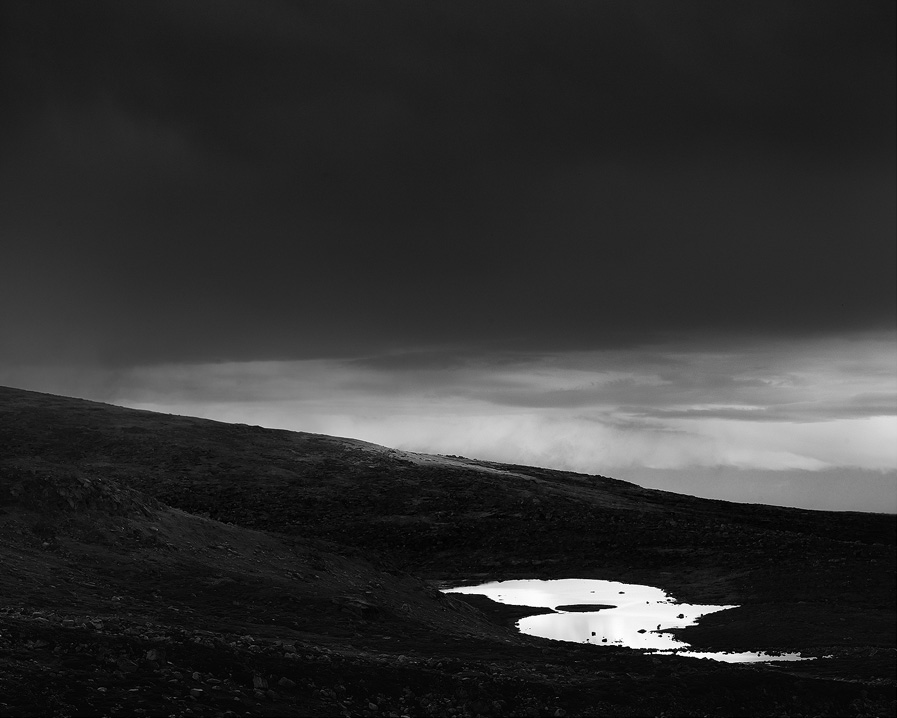
I struggled with this image for a long time until I realised a low-key black-and-white look would suit it well.
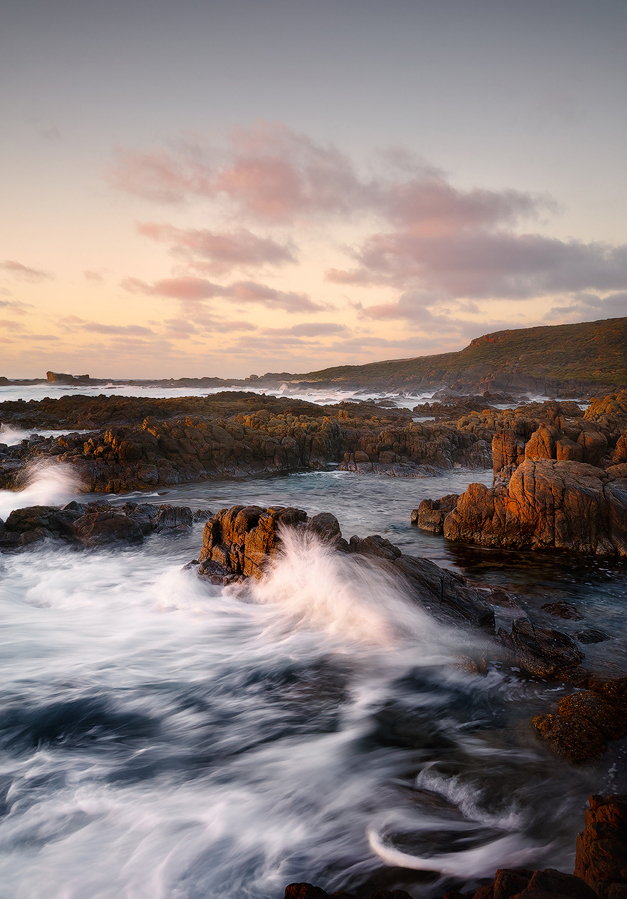
Apparently Blue Lake is 28 metres deep and boasts the freshest water in mainland Australia due to its low salt content. We took the detour down to the water’s edge. It was certainly clear and inviting, but one finger dip into the water told me I’d come out an iceblock if I ventured in for a swim.

Blue Lake had exactly the kind of scenery I was after. The light coming from the right was perfection—It felt like nature’s own softbox. As for swimming, though…
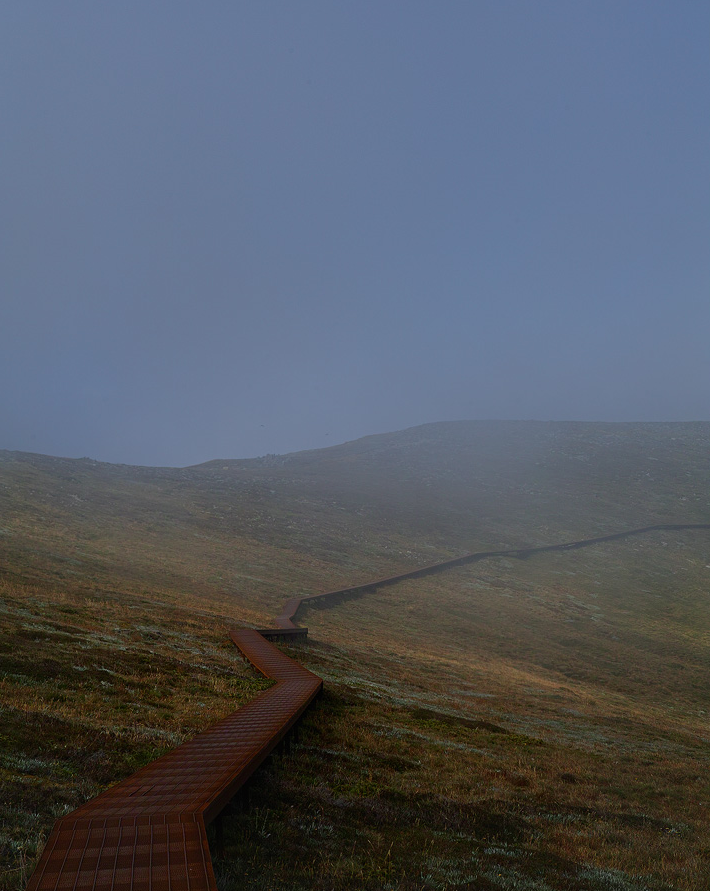
The weather changed quite dramatically the higher we got. We moved into the clouds and the views vanished along with visibility. This made for some of my favourite shots. When shooting traditional landscapes like this, I prefer adverse weather, silently cursing whenever there’s a blue sky. That’s quite the opposite from what I look for with my ‘mundane’ photos, so it’s nice to have both worlds.
This is one of my favourite images from the trip. There is a danger when you open Levels for an image like this and see how dark it is to bring up the whites, but I think it works far better remaining dark and moody. It adds mystery and is far more faithful to the actual conditions.
We hit Mount Kosciusko mid-morning and from there the track improves. There were quite few people heading up the summit, including a few in wheelchairs and even a guy in thongs. It’s not exactly a killer climb. From Australia’s highest toilets and it’s then a looooooong fire trail back to Charlotte’s Pass. At times it seems never-ending, but we made it and headed back to Jindabyne Brewery for a well-deserved drink.
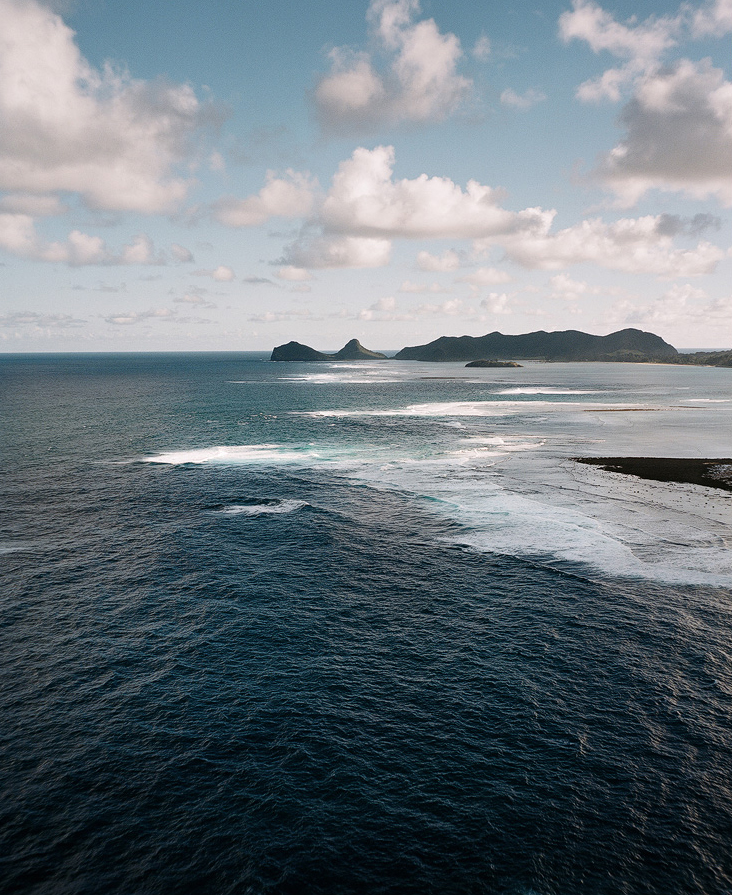
Finally, we wrapped our trip up at Bermagui on NSW’s South Coast. I had seen this spot below on a few social media feeds and had to check it out. At first we could not figure out how to get down to the rock shelf, but perseverance over the headland got it done. It ended up being far easier than we expected. It’s been a very long time since I shot a traditional seascape like this. I got a bit frustrated with the processing. It’s been a while!

This is spot is a photographer’s favourite on the NSW South Coast. As far as seascapes go, it would be hard to find better. In fact, the whole coast around Bermagui is full of dramatic rock formations like this.
Yet again I used the Sigma SD-H for this trip and the Sigma 50mm f1.4 ART for most of the shots, pulling out the 24mm f1.4 on occasion when I needed a wider angle. I was really hoping to see Sigma’s full-frame Foveon camera this year, but I do respect Sigma for holding back on a product they are not completely behind. I have been eyeing off the GFX50R again, so we’ll see if I make the jump.
If you can make it out to the Main Range Track, Kosciusko or any of the smaller towns listed, it’s well worth it. Australia needs the tourism dollar more than ever. Head here to check out the full gallery of images from the trip.